
Initiate Dialogue with AI: Using Bash and ShellGPT for ChatGPT
Initiate Dialogue with AI: Using Bash and ShellGPT for ChatGPT
Artificial intelligence has emerged as a new-age sensation, leaving everything behind in the dust. With new additions daily, there is a lot to look forward to.
MUO VIDEO OF THE DAY
SCROLL TO CONTINUE WITH CONTENT
People use this multi-faceted, ubiquitous tool to crack jokes, write codes and even answer the most random questions. It’s easy to use ChatGPT on other OSes, so, as a Linux user, why should you stay behind?
You too can enjoy ChatGPT’s Linux avatar, ShellGPT. Here’s how to install and use the AI tool from your Ubuntu terminal in a few easy steps.
What’s ShellGPT, ChatGPT’s Equivalent Linux Namesake?
ShellGPT, as it is more commonly known, is ChatGPT’s command-line equivalent, through which users can use and engage with the AI chatbot via their Linux terminal. The chatbot draws power from OpenAI’s Large Language Model, providing intelligent user recommendations.
Large Language Models (LLMs) are becoming a hot topic of discussion since you can easily run LLM-enabled chatbots on your Raspberry Pi .
Sounds intriguing, doesn’t it?
If you have experience interacting with ChatGPT, you will love this alternate Linux shell version.
What’s the benefit of installing ShellGPT on your machine? It’s simple; you don’t need to type in unnecessary long commands or head to your browser. Instead, you can perform all possible tasks from the comfort of your Linux terminal.
Before installing ShellGPT on your Ubuntu machine, here are a few prerequisites to take care of.
Step 1: Install Python and PIP on Your Machine
Like most artificial intelligence-enabled tools, even ShellGPT runs on Python. While Python is usually installed by default on most Linux distros, you can check its installation via its version information. If Python isn’t available on your machine, you must install it before moving on to the next steps.
Open a terminal and type in the following commands to check Python’s version:
python3 --version
If the command returns a numeric version output, you can safely assume you’re rearing and ready to go. However, if you encounter any errors, you should install Python on Ubuntu , before installing PIP.
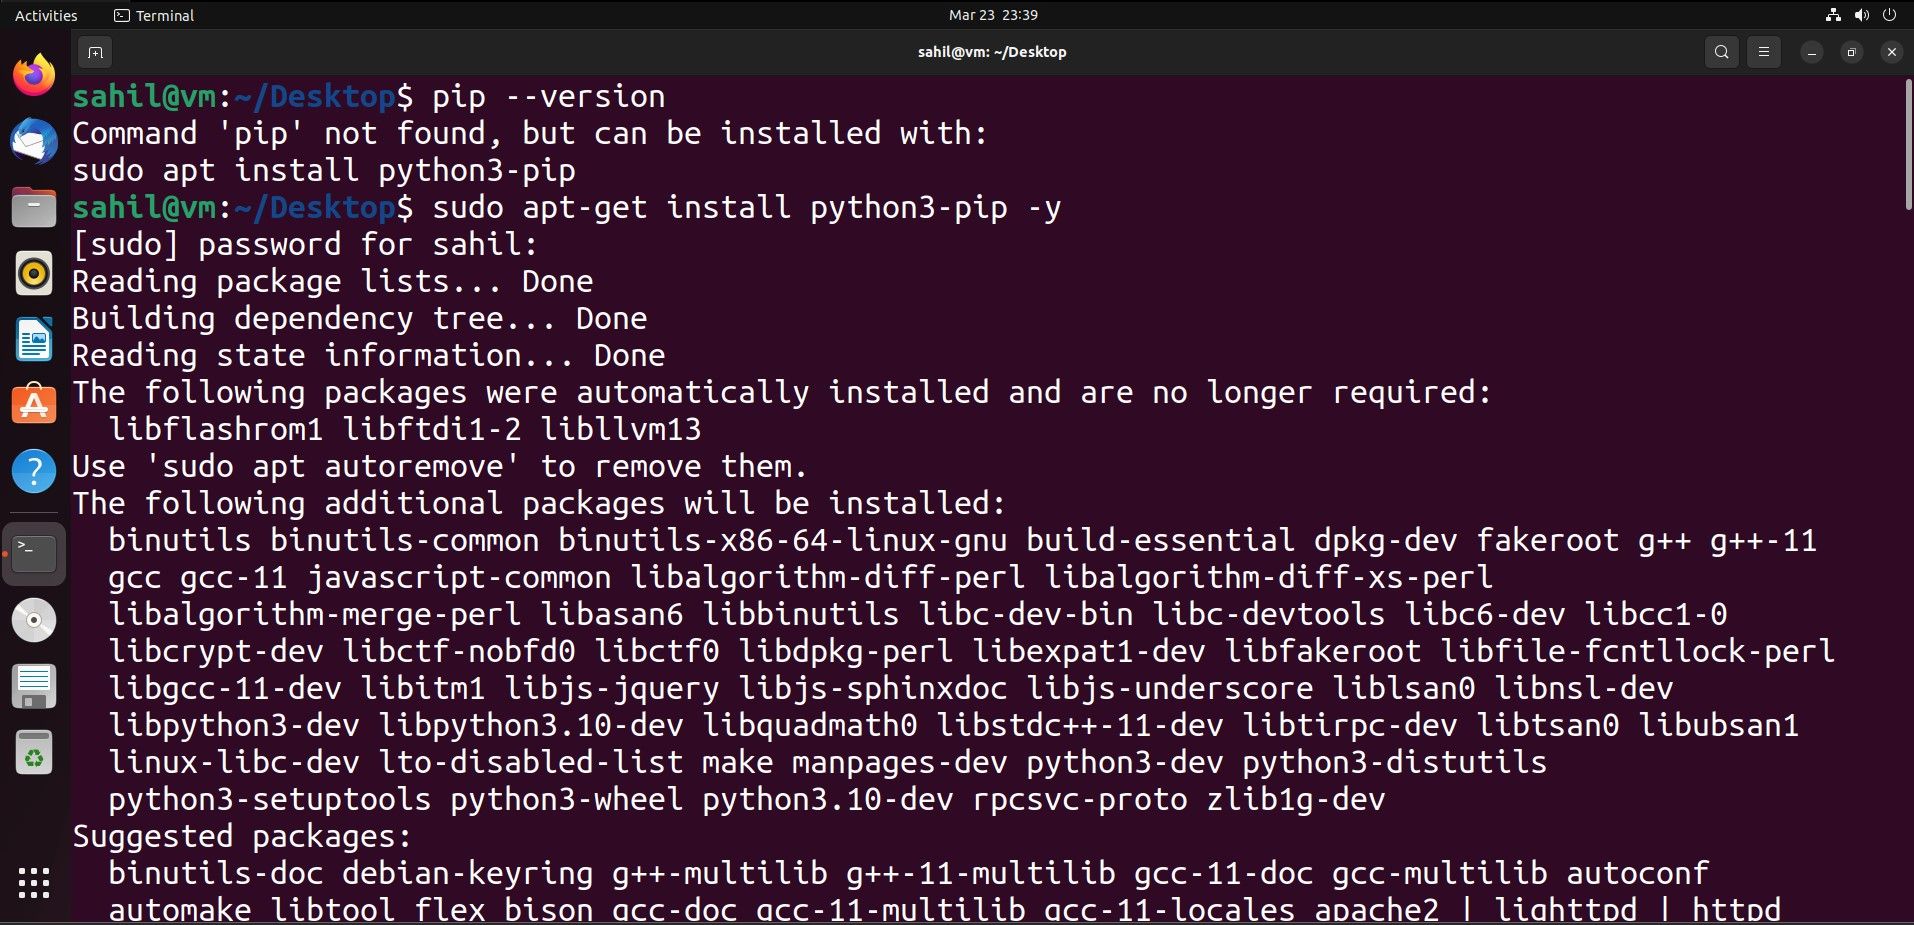
Now that you have Python installed on your machine, it’s time to install PIP, Python’s native package manager.
Even though PIP is usually pre-installed with the Python bundle, it’s best to check the version beforehand to know its installation status. Run the following command to check if it is installed on your machine:
pip --version
If you get the following error post-execution, you need to install the package manager:
Command 'pip' not found, but can be installed with:
You can use the following command to install it:
sudo apt install python3-pip
After installation, you can again use the --version command to check if the installation was successful.
Step 2: Install and Set Up a Virtual Environment Using Python
Now that Python and PIP are ready, you can set up Python’s virtual environment to make the machine environment conducive for installing and running ShellGPT. Virtual environments are ideal for running isolated programs since they can avoid library conflicts.
With a virtual environment in tow, you can limit the interactions between your system’s and virtual environment’s programs while performing different executions in silos.
Using a virtual environment is an optional step, to avoid any unforeseen mishaps while installing and using Python libraries.
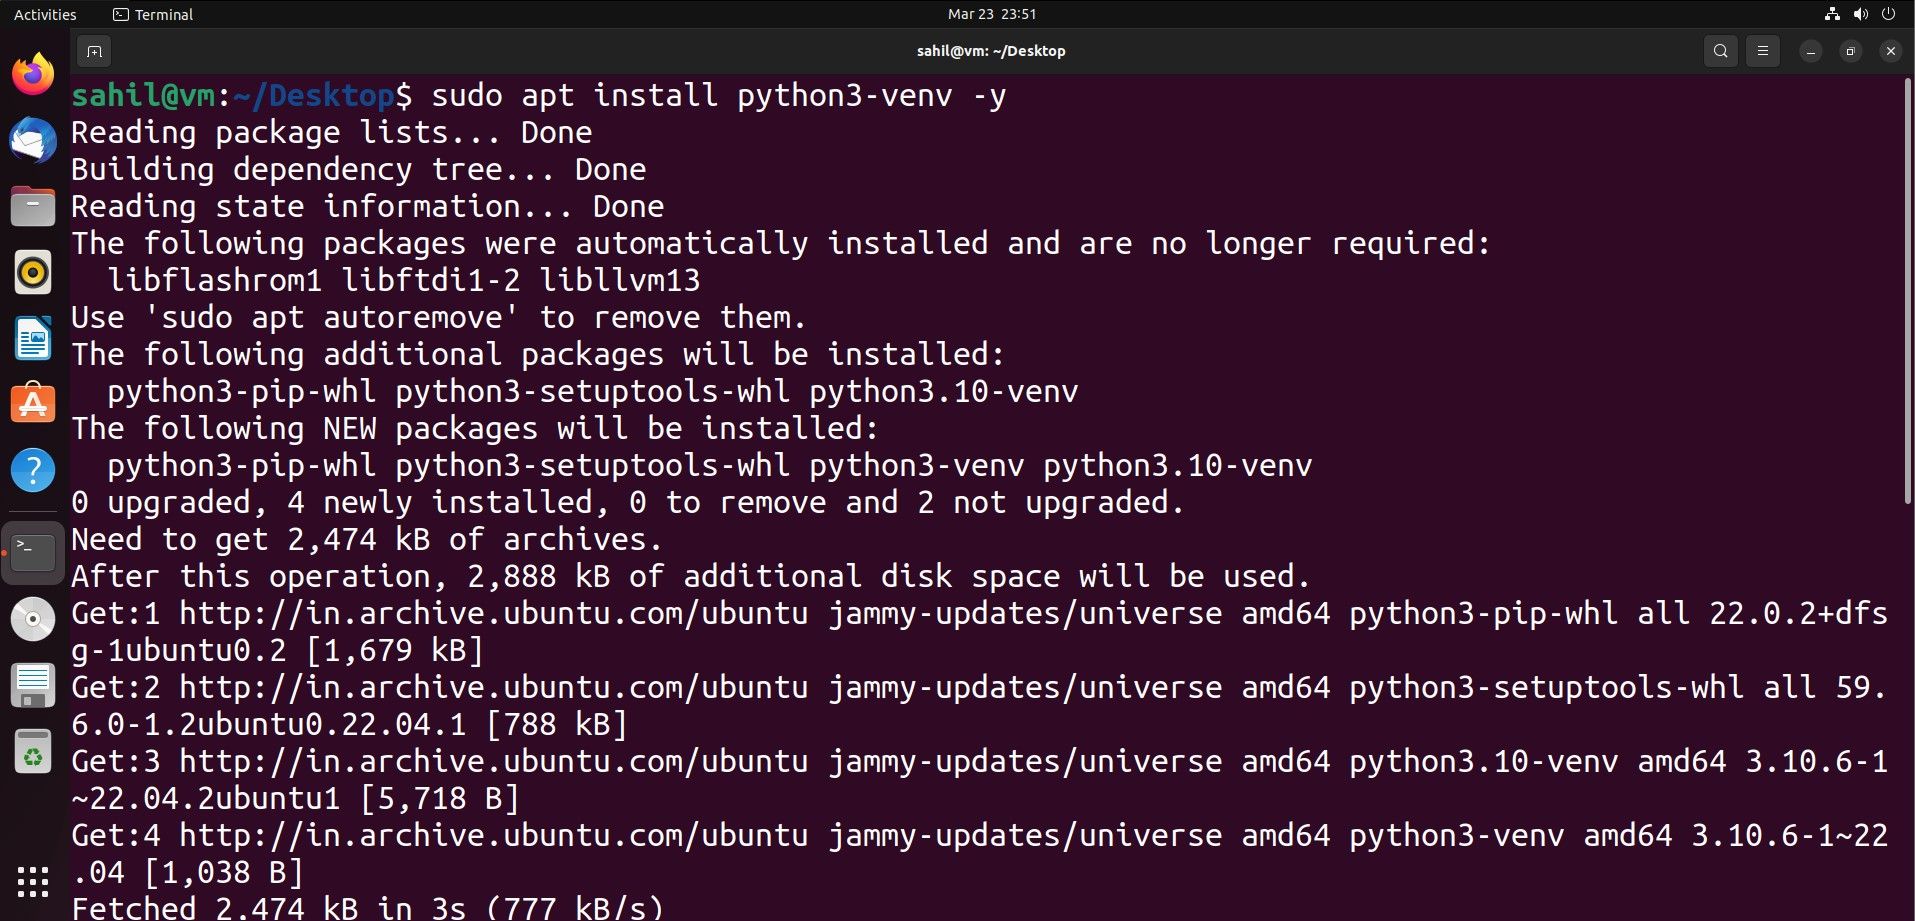
To create a virtual environment using Python, you need to install the venv module:
sudo apt install python3-venv -y

Set Up the Virtual Environment
Once you’ve installed the virtual environment, you can set it up, so that it can facilitate ShellGPT’s commands seamlessly.
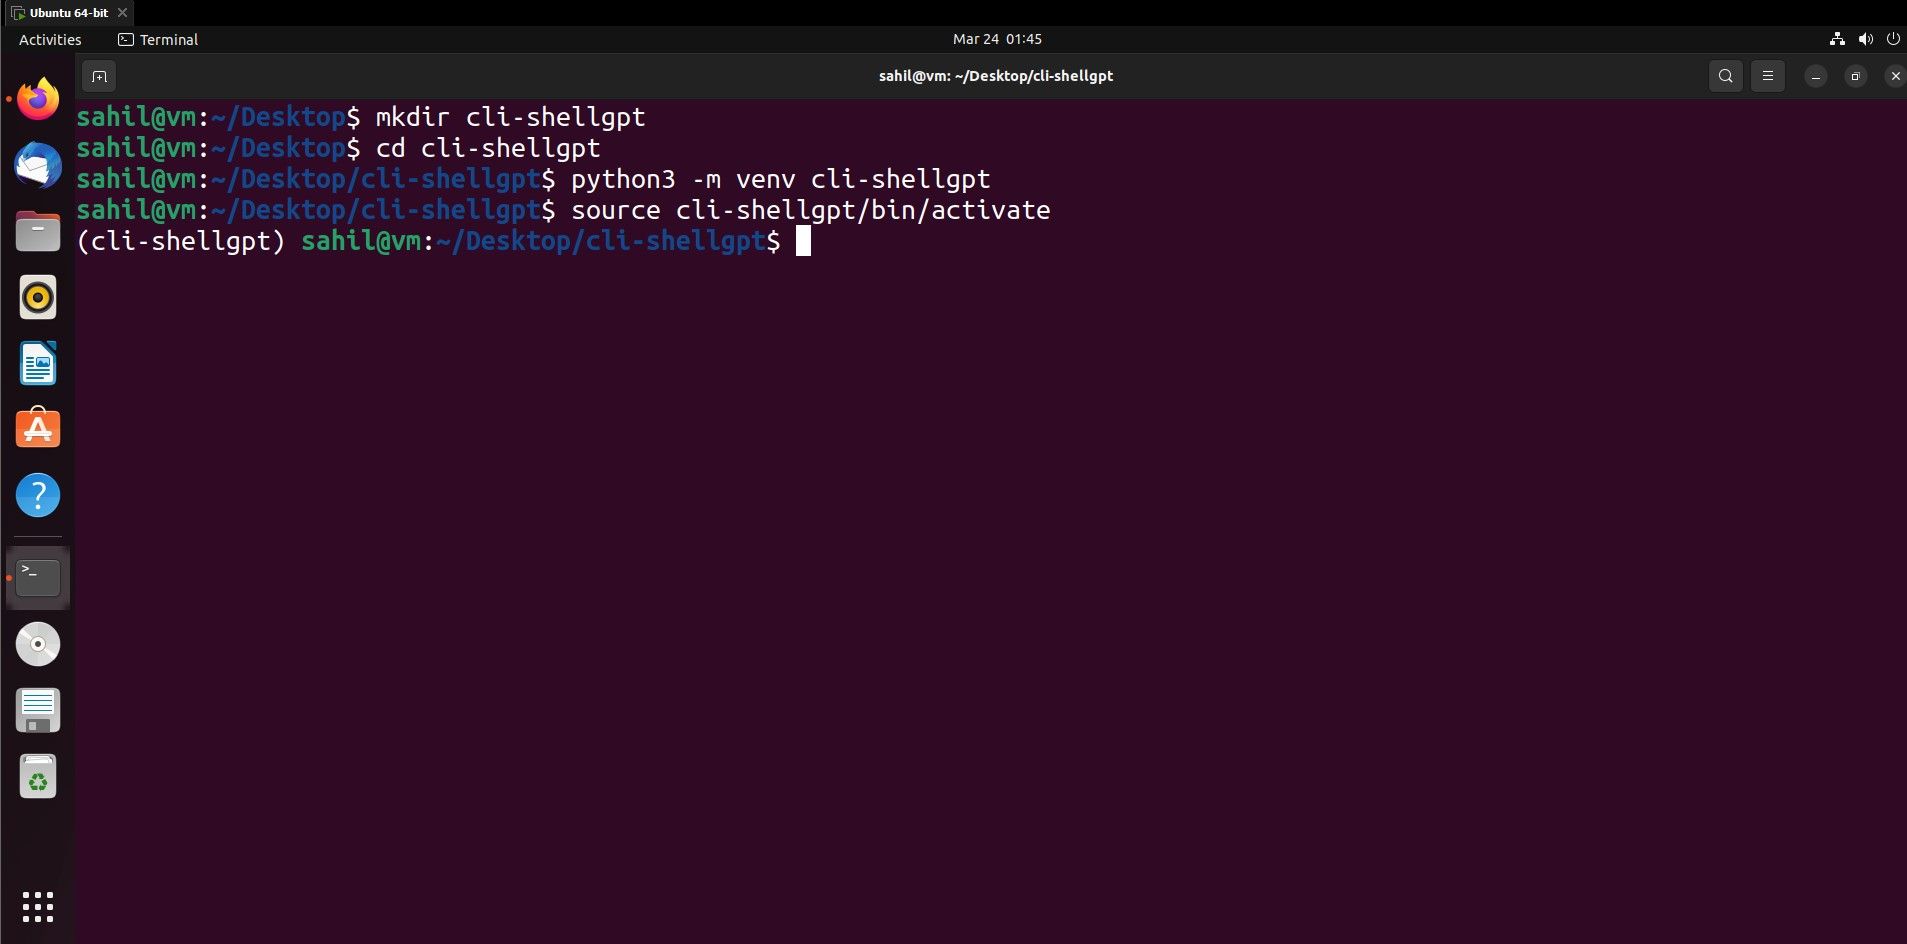
First, create a new directory to organize and host the files. You can use the mkdir command, followed by the directory name, as follows:
mkdir cli-shellgpt
Navigate to this newly created directory with the cd command :
cd cli-shellgpt
Then, create a new virtual environment with the venv command, followed by an environment name:
python3 -m venv cli-shellgpt
Since the virtual environment isn’t enabled by default, you must enable it manually with the activate script:
source cli-shellgpt/bin/activate
As soon as you execute the above command, you will notice the default Linux shell prompt changes, as shown below:
(cli-shellgpt) sahil@vm:
Step 3: Generate an OpenAPI Key
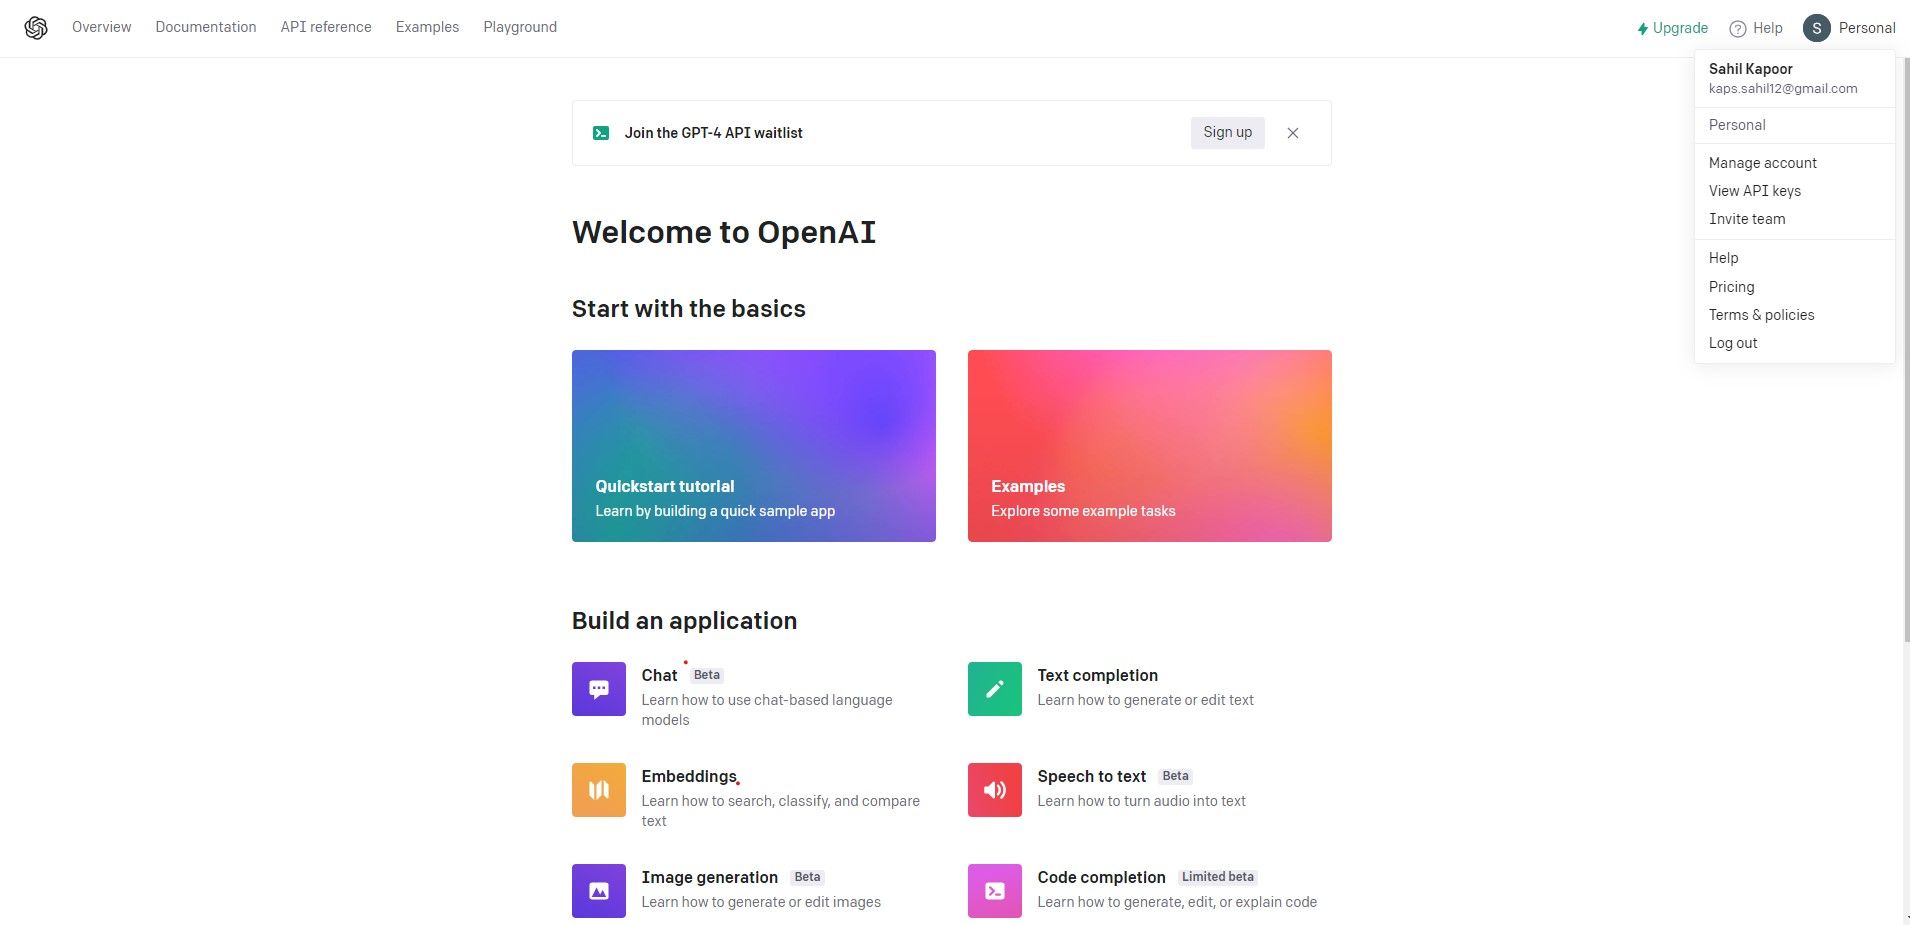
Since the virtual environment is ready, you must connect the OpenAI services and your Ubuntu machine to run ShellGPT. For this purpose, you must navigate to OpenAI’s website and create an account there.
If you have an existing account, you can log in with your credentials and navigate to your profile image, located on the top right-hand side of the website.
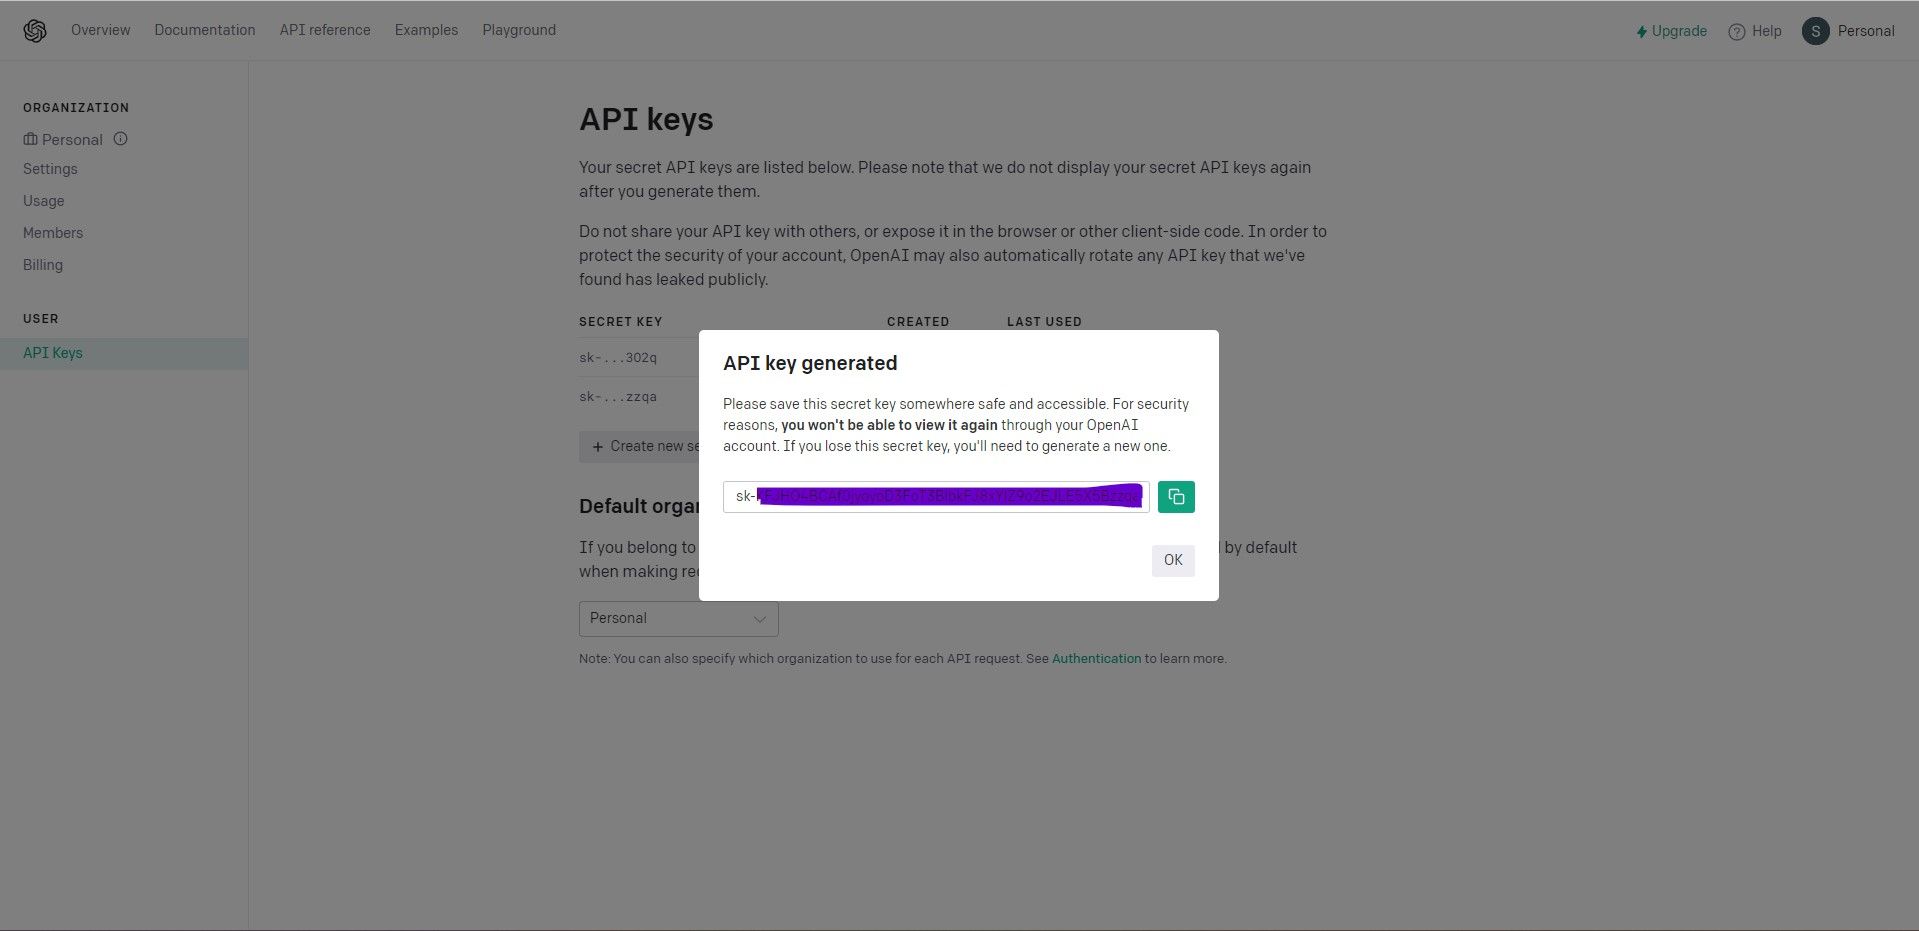
Click on View API Keys, followed by Create new secret key.
Do not share this key with anyone since the connection is private and should be used on your machine only.
Copy the API key from the dialog box, and save it somewhere, since you won’t be able to review the same key again.
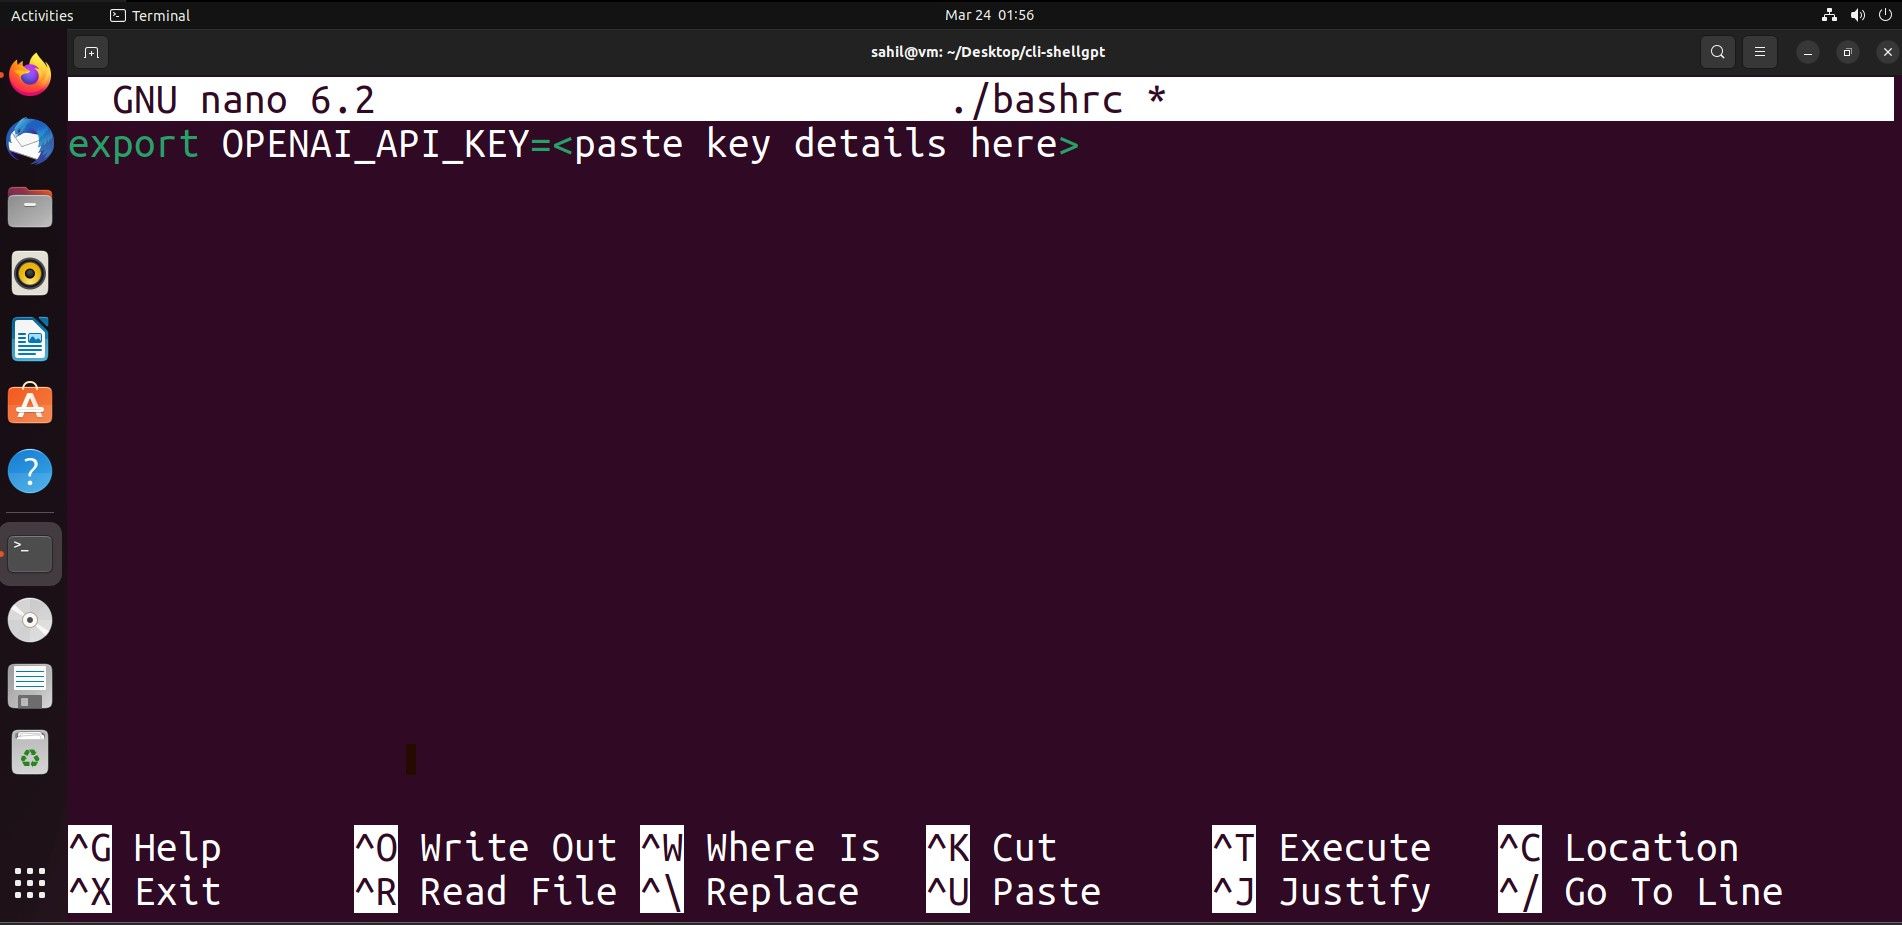
To establish a connection on your Ubuntu machine, create an environment variable with the export command:
export OPENAI_API_KEY=<paste key details here>

Add and Verify the API Key Into a Virtual Environment Variable
When you execute the API key in this manner, Linux will use it only for a single instance. However, if you want to make the execution permanent, save it in the .bashrc file.
All you have to do is type in the first command and enter the subsequent command within the text editor:
nano ./bashrc export OPENAI_API_KEY=<paste key details here>
Save and exit the editor. Then, use the source command to enable the changes.
source ./bashrc
Finally, verify the API key with the env command.
env

 Project Manager - Asset Browser for 3Ds Max
Your OPENAI_API_KEY environment variable should be listed in the output.
 Software Update Pro - Check and update software installed on your computer.
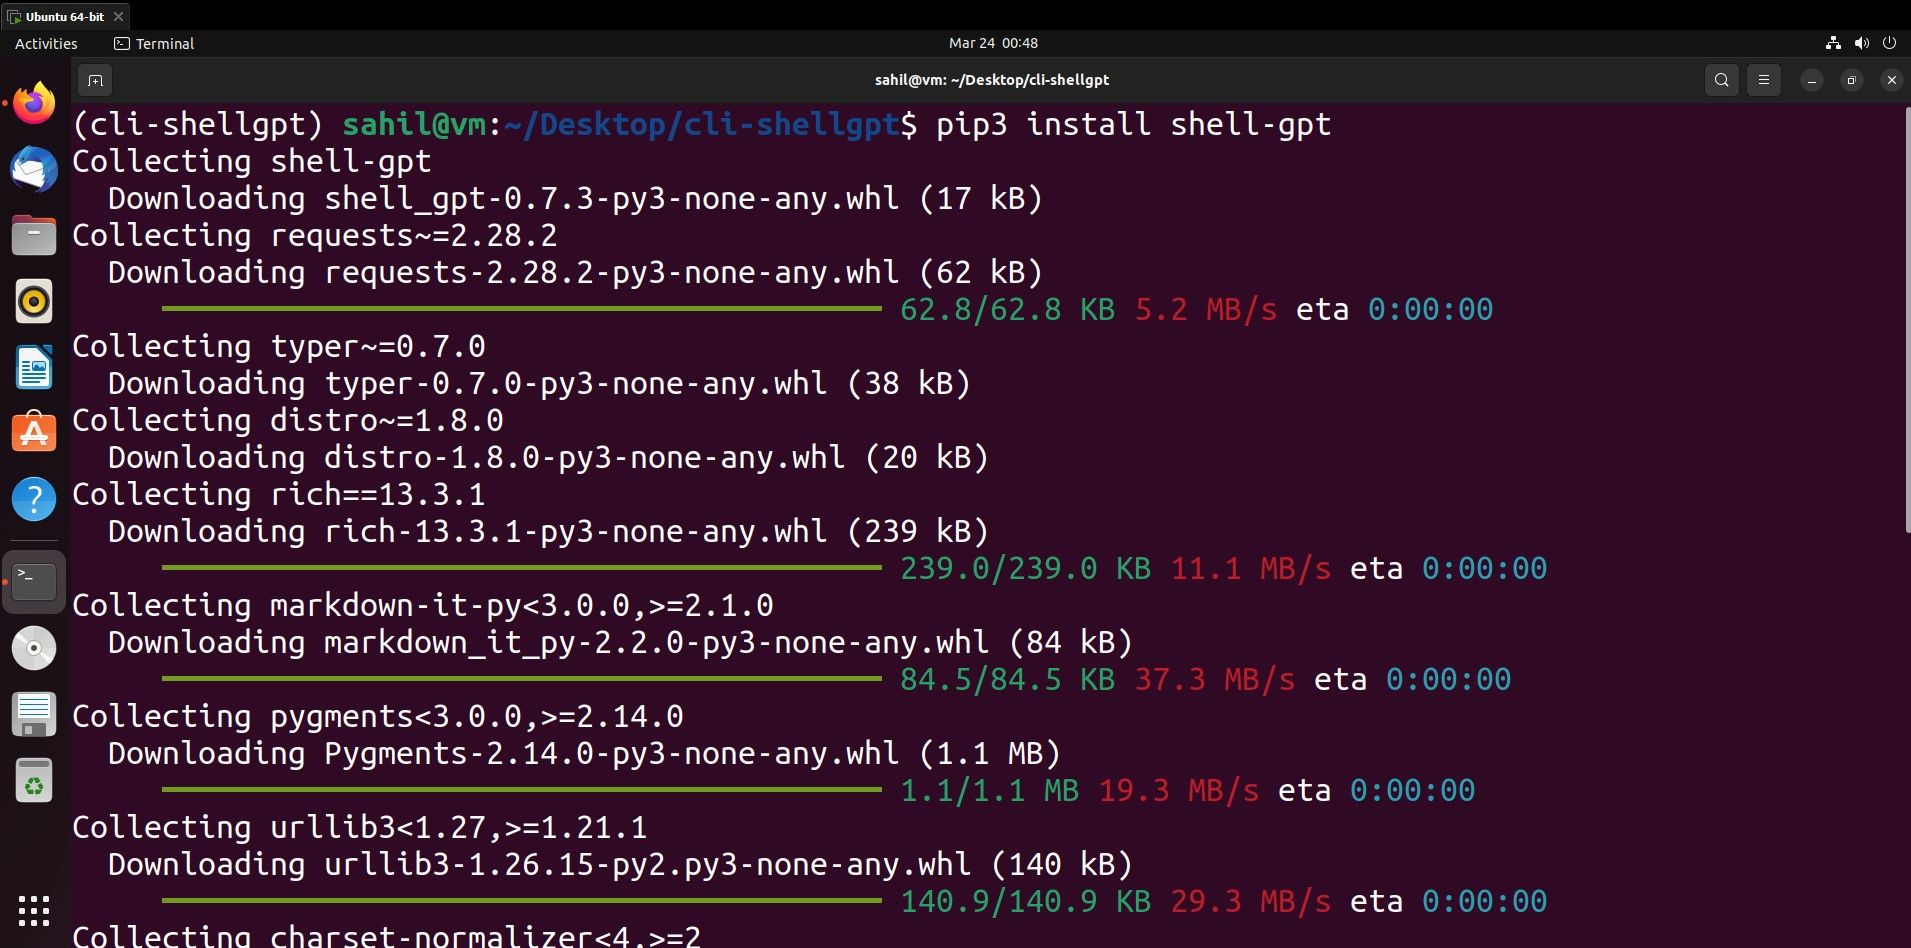
Step 5: Install ShellGPT on Ubuntu
Once all the installation formalities are complete, you can simply move on to the best part, the ShellGPT installation. The installation steps are quite straightforward, and you can install the tool with the following command:
pip3 install shell-gpt

Let the installation finish; meanwhile, you can check out some interesting ways to use the AI tool via your terminal window.

WPS Office Premium ( File Recovery, Photo Scanning, Convert PDF)–Yearly
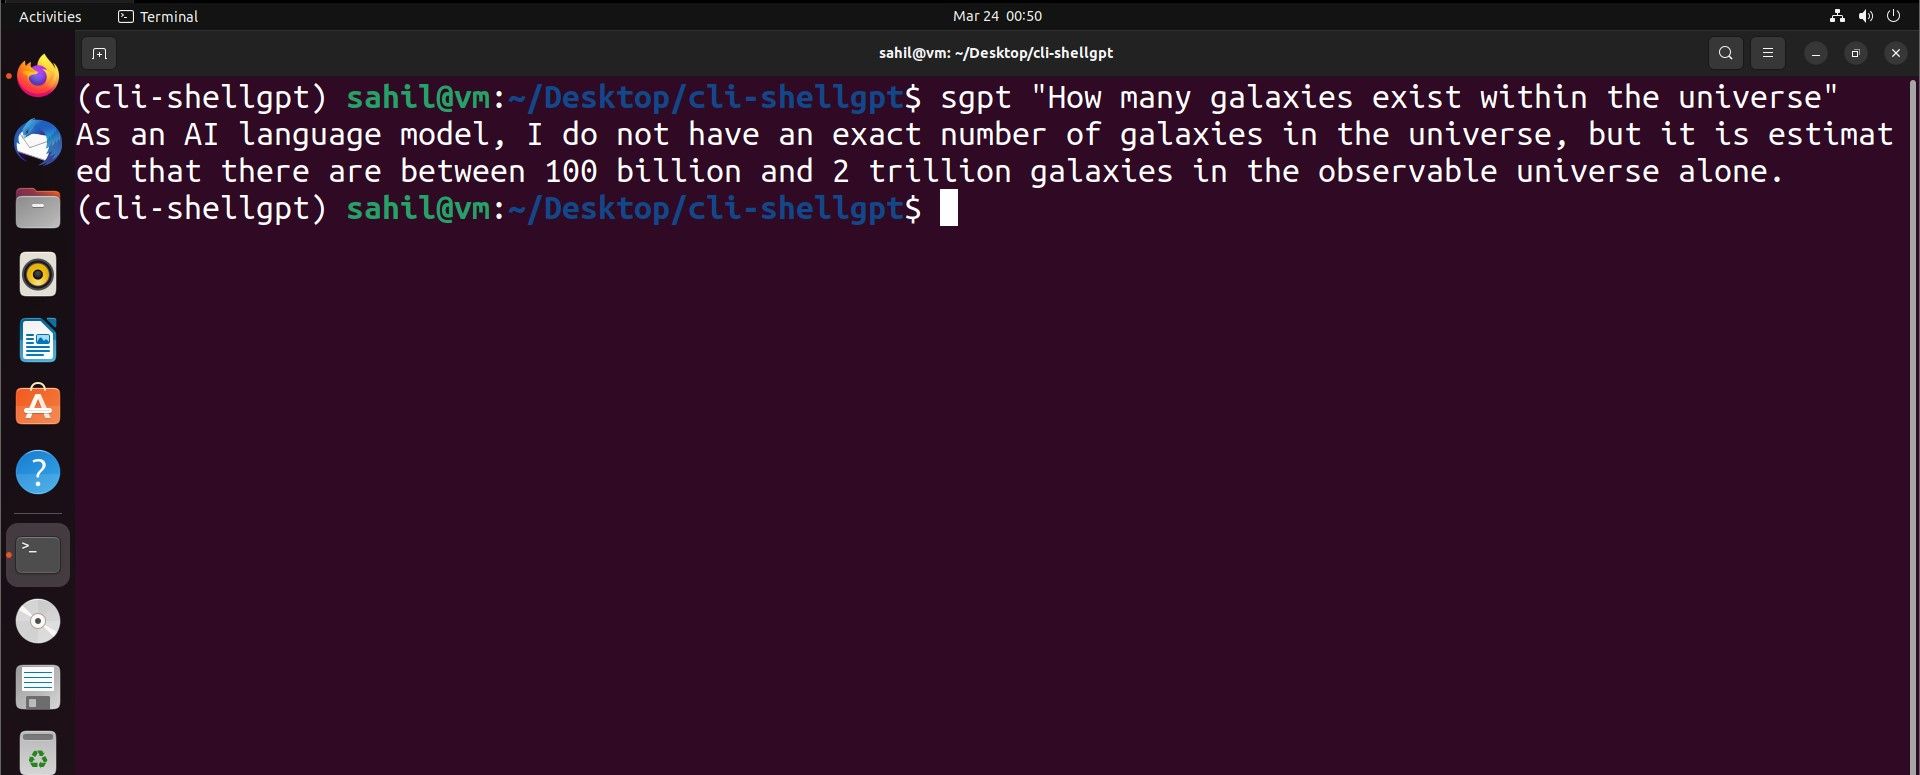
Using ShellGPT for Running Queries via the Terminal
The entire purpose of installing ShellGPT is to make your life easier. To use the terminal as a search engine and run some queries, you can use the sgpt command, followed by your query within quotes:
sgpt "How many galaxies exist within the universe"
Using ShellGPT for Generating Code
You can use your ShellGPT for generating code as well. You can do it by passing the right command with the sgpt command:
sgpt --code "print the Fibonacci series"
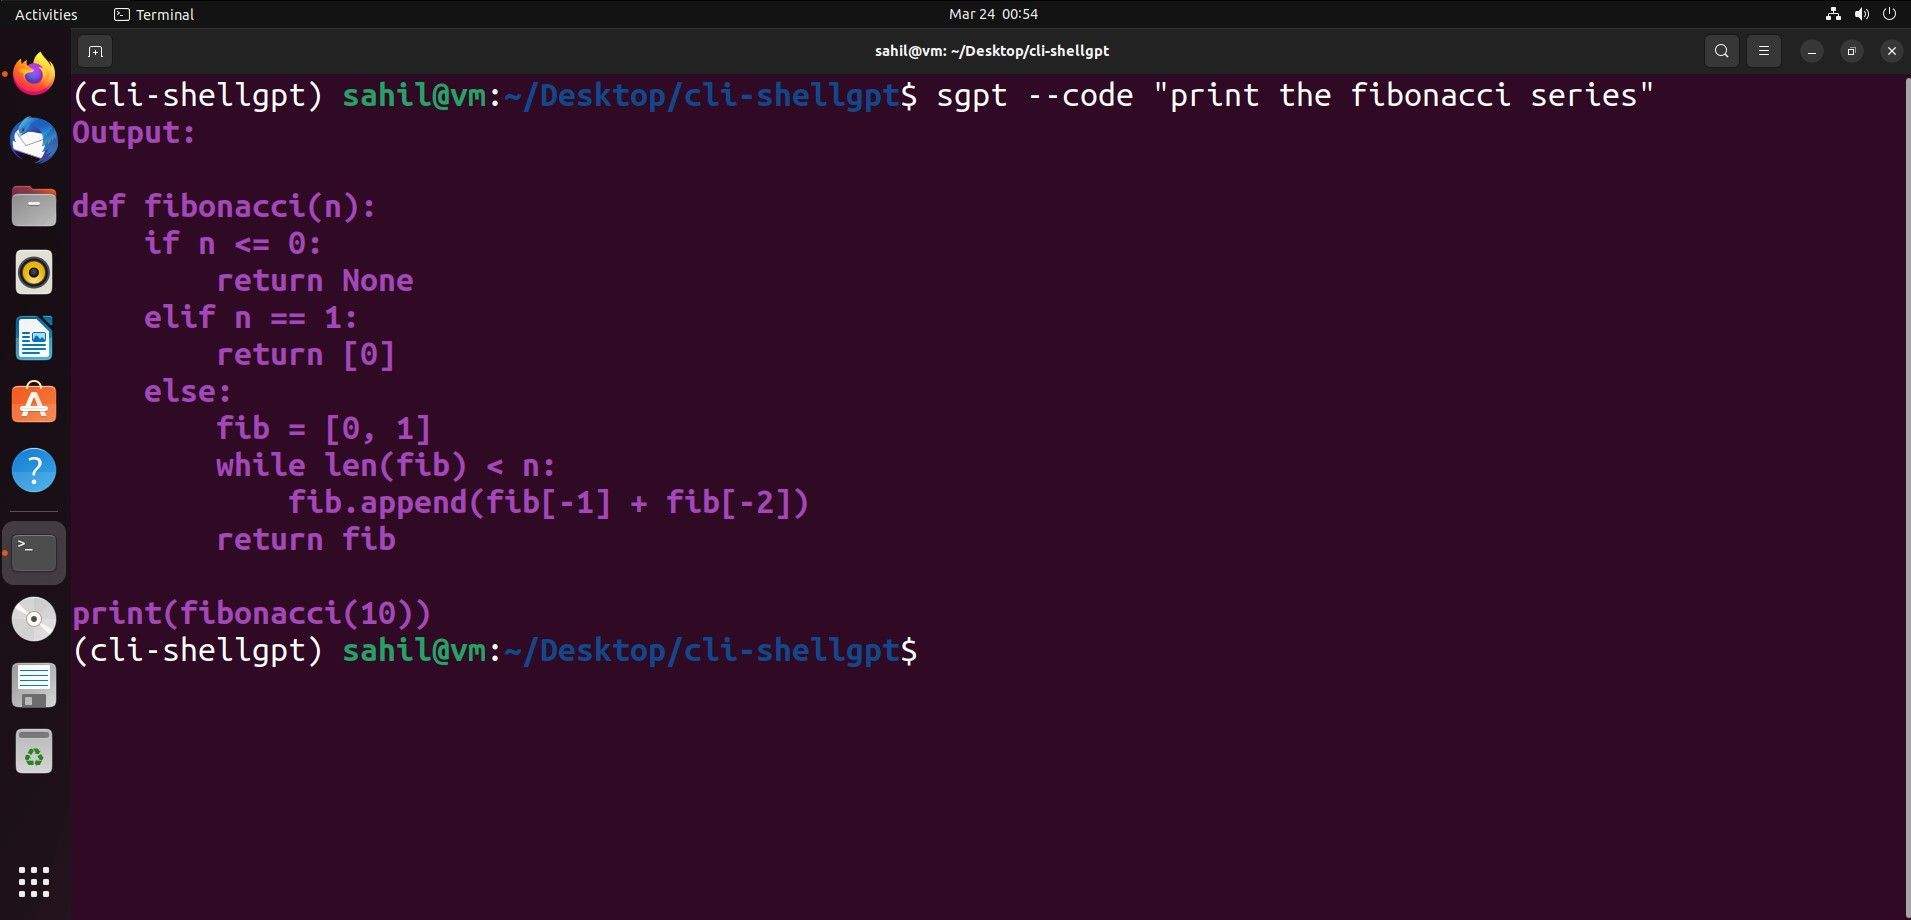
The output consists of code you can execute within Python to generate the Fibonacci series.
Using ShellGPT Within Ubuntu’s Terminal
Linux commands become easy, especially when everything is available within your terminal window. From running shell commands to using your terminal as a search engine, you can do it all with ShellGPT.
But since ShellGPT is based on the same concept as ChatGPT, it has its own set of problems, which might take a while to perfect. Until you can download the new bug-free version, it’s best to continue working with the tool’s imperfections and make your life easier with ShellGPT’s automated commands.
SCROLL TO CONTINUE WITH CONTENT
People use this multi-faceted, ubiquitous tool to crack jokes, write codes and even answer the most random questions. It’s easy to use ChatGPT on other OSes, so, as a Linux user, why should you stay behind?
You too can enjoy ChatGPT’s Linux avatar, ShellGPT. Here’s how to install and use the AI tool from your Ubuntu terminal in a few easy steps.
- Title: Initiate Dialogue with AI: Using Bash and ShellGPT for ChatGPT
- Author: Brian
- Created at : 2024-08-18 09:56:32
- Updated at : 2024-08-19 09:56:32
- Link: https://tech-savvy.techidaily.com/initiate-dialogue-with-ai-using-bash-and-shellgpt-for-chatgpt/
- License: This work is licensed under CC BY-NC-SA 4.0.